I hope you all had a great Mother's day weekend. I felt spoiled with treats, flowers and my daughters gave me a spa evening by giving me a massage and polishing my toes. Being a mom is the best thing I have ever done!
Onto making a headboard! When working on our
daughter's room makeover, I decided on a tall curvy look for the head board. Here's how we made it:
1.
Draw it out. The hubs used an Auto-Cad program to draw out our shape. However, you could simply draw out your shape and measure everything so it looks like the dimensions you want. Our shape is the dimensions for a full size bed.
2.
Cut it. We used a jig saw to cut the shape out of 1/2" OSB plywood (usually under $20).
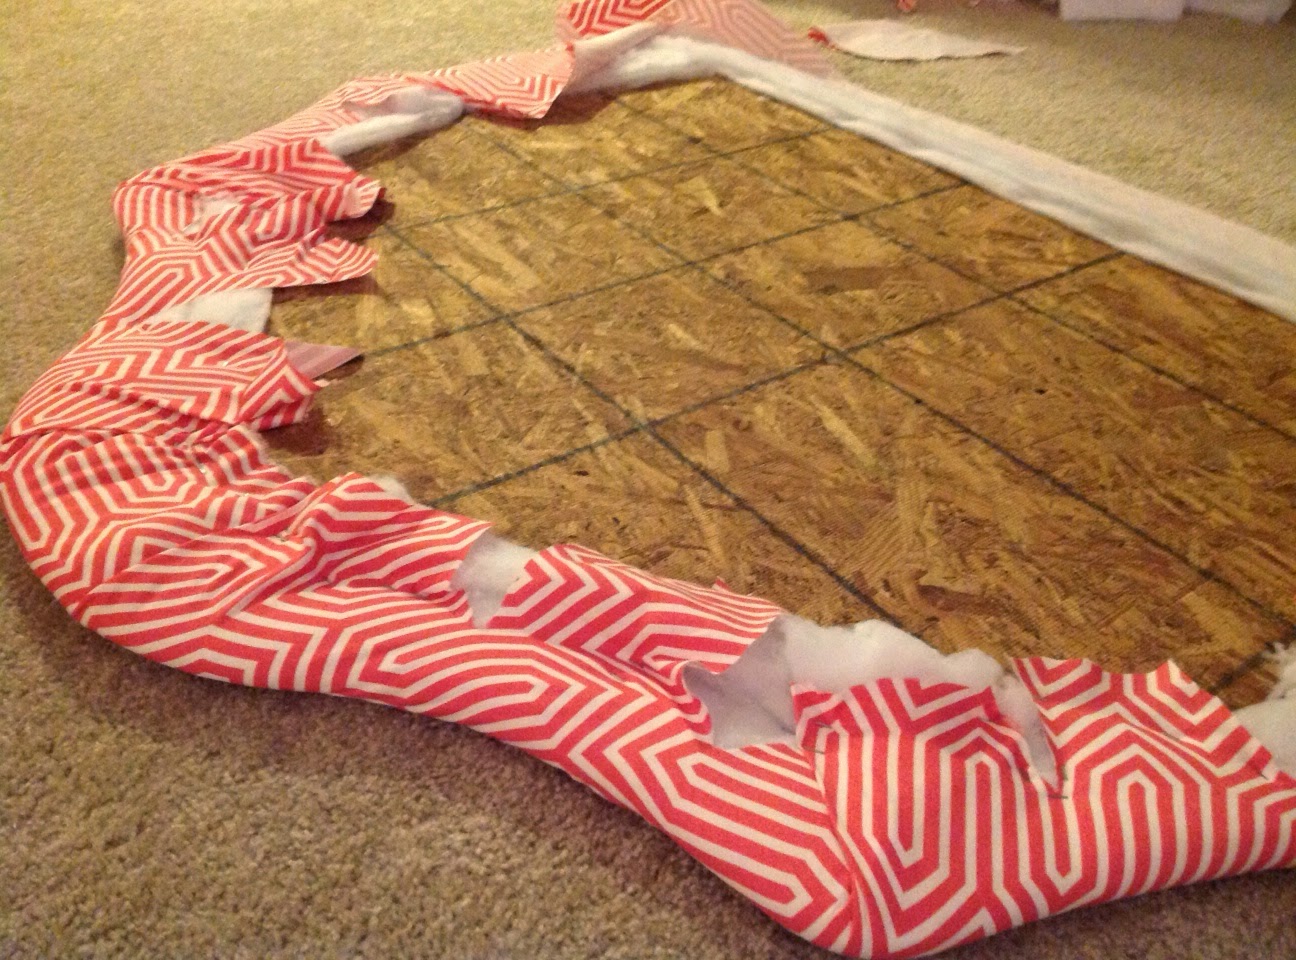
3. Batting. Staple the headboard with batting. I used two layers of batting.
4.
Cut out fabric and staple. I should mention that before I cut the fabric I ironed all the wrinkles out first so that when we went to staple it would already be smooth. We cut slits in the back to avoid creasing in the curved areas of the head board. We pulled the fabric tight when we stapled the fabric (using an upholstery staple gun) so we would get a smooth finish.
5.
Mounting the headboard. We measured how high we wanted the head board to be and then used two 2x4's (which we had on hand) and screwed it to the backing after we had installed all the fabric and batting.
6.
Nail head trim. I found a great product for nail head trim (JoAnn's). This roll of nail head can easily bend into the shape needed. We used a tape measure to ensure the same distance from the edge all the way around. We really had to nail the tacks down since there were the two layers of batting. Once that's on then we put it behind the bed and pushed the bed back to the wall to admire this tall new curvy headboard.
The headboard cost us $65 to make. I got the batting and nail head trim at 50% off, or used a coupon at JoAnn's. The fabric is from
fabric.com and I only needed two yards. Plywood usually costs about $20.
A headboard makes a big difference in the feel of a room and it's great when you're reading in bed and can lean your head against something comfortable. Have you ever made a headboard before? I would love to hear how you did yours. Next up is showing you how I made the bedding- it's super easy!