Showing posts with label board and batten. Show all posts

10.23.2014

One Room Challenge- Week 4

Hi everyone. This week has been busy with our laundry room makeover (lots of painting). I'm also teaching at a Craft Night tonight so I've been working on a lot of projects lately (more on that later). Our laundry room is coming along. You can catch up with what I've been doing so far in:

I started working on making my chandelier fancy with some beads. I wish it looked like this picture, but alas it's not there yet. I'm repainting the chandelier (that came with our house) and I'm using wood beads to give it a natural look. 

I painted the walls Benjamin Moore 'wickham gray'. It's a beautiful color because it looks almost pale blue/gray on the walls. I think it will pair nicely with white cabinets and the board wall white. 
Benjamin Moore "wickham gray".  One of the prettiest colors ever!!     love this color
I started a coat of Benjamin Moore White Dove on the boards and quickly realized in this room it will look too creamy. Our laundry room has no windows for natural light so I want the white in here to look clean and fresh. So I'm off to buy some white paint!  Above the boards I will be putting up these hooks and hanging art with hangers (perfect for a laundry room).
The cabinets that my husband and I are making are looking great. 
The door faces are built and we'll be assembling all of it this week (along with painting them). There are still a lot of things to finish for this room like get a rug and fabric and art work, but it's looking like an improvement already with paint! Thanks for stopping by. Go check out what all of the other linking participants are doing and the 20 fabulous designers are doing in their rooms. Everyone in these groups are doing something inspiring for sure!

10.16.2014

One Room Challenge: The Laundry Room, Week 3

If you're new here and not familiar with the One Room Challenge it's basically a room makeover in six weeks. I'm working on a makeover in our laundry room. Only three more weeks until the deadline reveal. You can catch up on what's been happening on week one and two.
First, I looked for two cabinets for the wall with the washer and dryer. I  looked at the Re-Store (which has used building materials), Craigslist, and other stores. However, I wasn't able to find anything within our budget in the size we wanted. We (my hubby and I) decided to build them with the wood we had. We have a lot of scrap wood from other projects which we could use for these cabinets. We did have to buy some wood, but we are using what we have too. Above, is the frame of the cabinets. Next up is to put on the doors and start painting.
love this laundry room.   Clean in all white and my favorite sink!!!!!!  Love it.   A girl can dream about laundry rooms?  Heck, yes!!!!  I dream about every room from the kitchen, to my outdoor bath, to sunny bedrooms, and let us not forget my enormous his and hers closet.  More so....I am {dreaming about when the HIS is coming into my life as well}.
                                                                        source
We will be putting our cabinets on either side of the wall with a shelf in the middle, like this picture.

On the wall opposite of the washer and dryer we put up thin boards to give more texture to the wall. This is a picture of the boards primed.
Soon it will be white with a row of hooks above it and some art work or a drying rack. Like this idea:
entry
source

There is a lot more to do for the room:
-Paint room
-Paint cabinets
-Paint folding table (on top of washer and dryer)
-buy a rug
-drying rack
-hang hooks
-hang chandelier (and possibly paint it)
-baskets
-art work
-new cover for ironing board

I better get going on this list! Go check out what some of the other bloggers and designers are up to HERE and HERE. I'll have another update next week. Thanks for stopping by. 

10.07.2013

Board and Batten it!


Welcome to our dining room! Step right this way. Putting board and baton in our dining room was our first project when we moved into our home. The dining room is the first room you see when you walk into our home, so I really wanted it to look fresh and serene. I love how Board and Batten looks in a room. I grew up in New England with lots of Cape homes and cottage style homes. Batten reminds me of theses styles. Board and Batten is also an inexpensive way to add some depth to a space without much money. The whole project cost us about $80. The paint above the white is Shermin Williams, Sea Salt.

For this project, we installed chair rail and battens to the plain sheetrock walls. In other words, we didn't install any "board" in this board and batten project.

Here is a TUTORIAL:

1. Decide you want the Board and Batten look. Hahaha! Of course you do!
2. Install chair rail. Normal chair rail height is between 32 and 36". For this project, we raised the chair rail up to 5'. The height we chose was based not on an exact dimension, rather what fit between switches and the thermostat. In other words, we eyeballed it.


3. We used 1/4" thick veneered plywood from Home Depot and cut them into 3 1/2'' wide battens using a table saw. We wanted battens to be thinner than our baseboard so the battens wouldn't stick out and 1/4" worked well. Also, you have flexibility on width; You may want wider or thinner battens depending on how large your space is and how tall your chair rail is.
4. Then we cut the battens to length from the top of the baseboard to the bottom of the chair rail.
5. The spacing between battens was based on proportions of our space but also considered the locations of outlets (which we didn't want to cover or cut around) and windows (we didn't want to cut battens to fit around window casings or sills). Again, there is a lot of flexibility on spacing. To find out spacing, we first found the center of our most complex wall (which had two windows and two outlets). That is where the center of the first batten went. We started with 6” between battens and taped the batons in place to see what they would look like (it covered an outlet, blurg). Then we went to 9” and it didn't work with the windows. Then we tried 8” and it was Juuuuuust right. This spacing worked out for the rest of the walls.

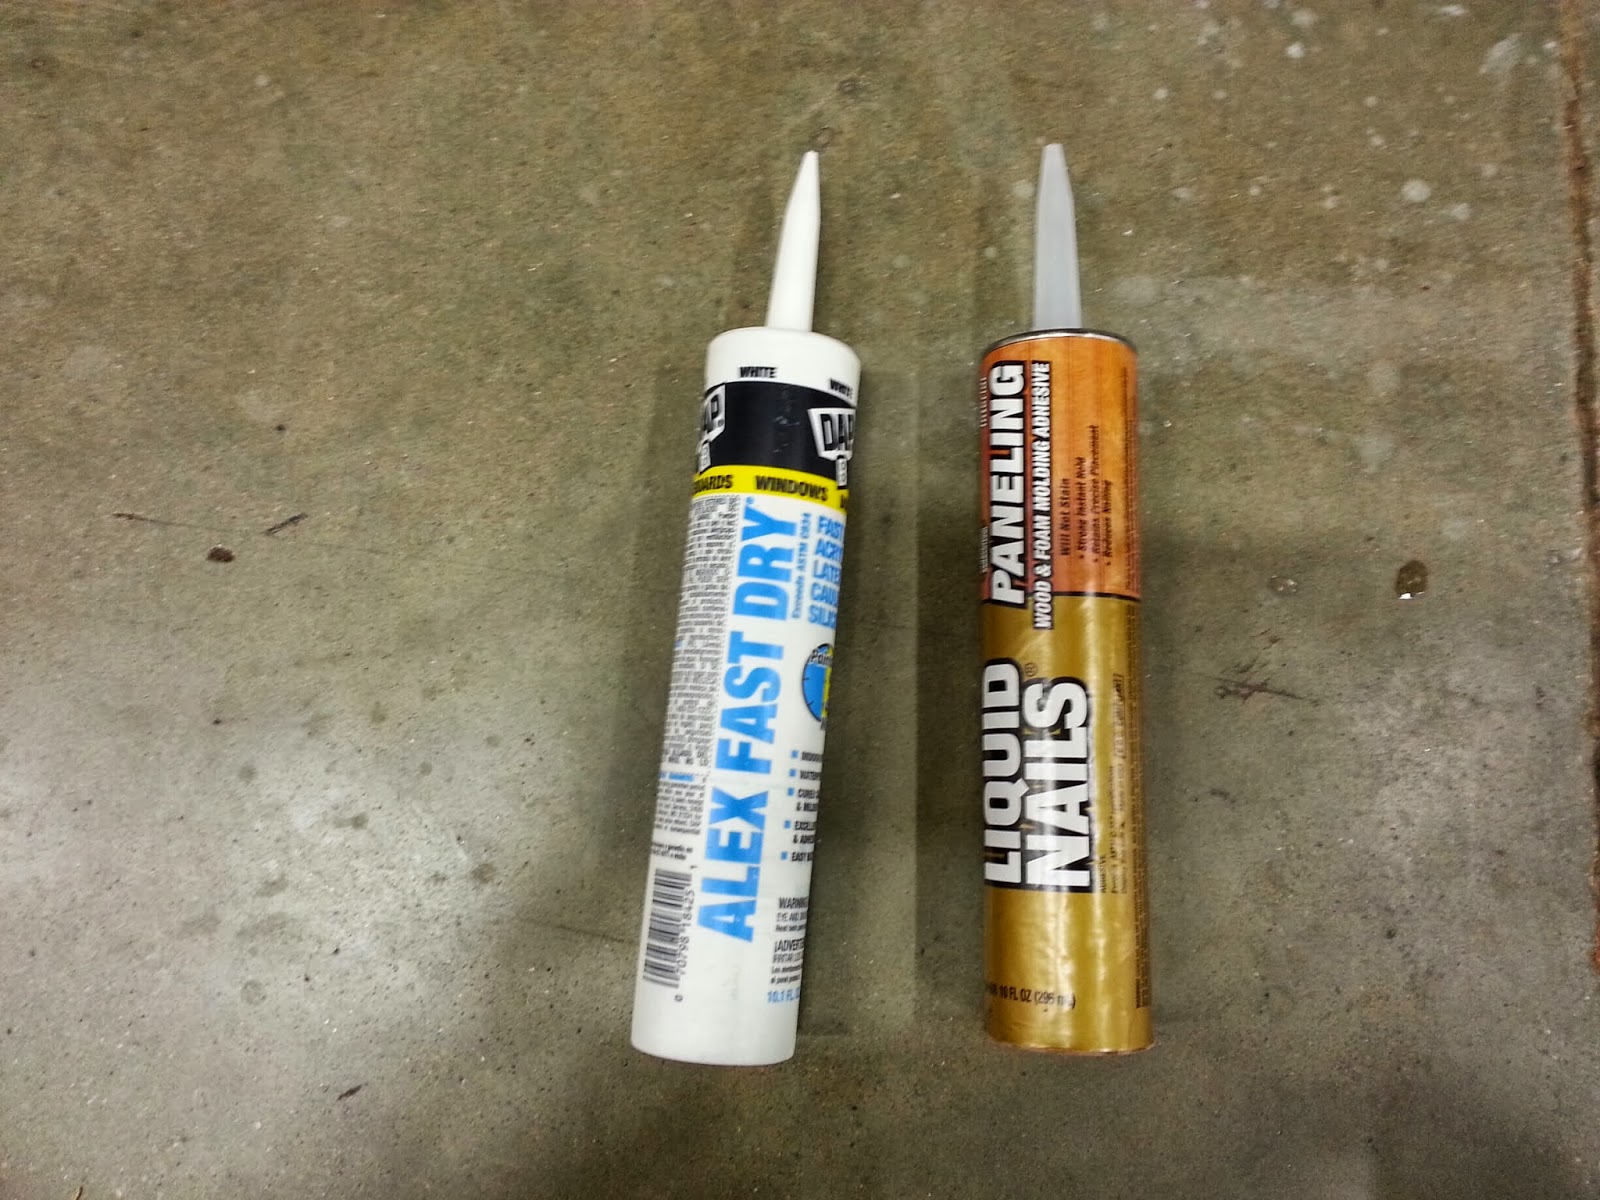
5. To secure the battens to the wall, we used Liquid Nails (for paneling) from Lowes. We also nailed the panels to the wall with a trim nail gun, which essentially held the battens in place while the Liquid Nails cured.
6. Fill in the nail holes (we used Dap nail filler), and caulk around the sides of each batten.

     
7. Once everything is dry, its prime time. Prime all un-coated wood. We normally use Zinzer water-based primer.
8. Then its time to paint. We painted the battens and the wall behind it with the same semi-gloss white trim paint that we used throughout the rest of our house. We did two coats of white and then stood back and admired the whole thing.
9. Once it's all done, do a victory dance (this is the most important step) and admire your new space.


Here's a close-up. My husband made the buffet table as well. 

Here are some other ideas for the board and batten look:

                                                              House Beautiful                               
I love how this image takes the boards all the way up to the ceiling. Great cottage look.

                                                                          via

                                                                        via

The other thing I love about Board and Batten is the way you can still make your room look formal or more cottage-casual. Here are some more views of our room:


I would love to hear if you have ever done board and batten and if you have any tips that worked best for you. We thought this project went quick and it really changed the look of the room. Did you find it an easy project?