Frames and art can be expensive! When the hubs and I did a
makeover of our master bedroom we needed some art work on the walls, and we were working with a limited budget. Every summer we collect shells and rocks when we go to the beach and we liked the idea of displaying them in a gallery like fashion above our dresser. Here's how we made these deep, sturdy and large shadow boxes.
What you'll need for each one:
- Glass: 14.5" x 14.5"
- 1x4: 6' (these are actually 3.5" wide, the same width as the fame)
- 1/8" Plywood backing: 14" x 14"
- cork pads
- picture hanging hardware
- small trim screws (1")
Process:
We've never made anything with glass before and were a little intimidated at first. It turns out, most Lowes carry glass and will cut it to any dimensions you choose for a reasonable cost. We had four pieces of glass cut at 14.5" x x14.5".
Now to start cutting the wood: First, cut the
dado and the
rabbet in the full-length boards. The dados are for the glass and the rabbets will be for the backing. We used a table saw to cut the dados with the blade 1/4" high and offset from the side of the board by 1/4". The saw blade is slightly wider than the glass which was perfect. Once cut, the glass fit perfectly into the dado. We used a router for the rabbet using a 3/8" rabbet router but.
Next, cut the sides using a miter saw. We used a 45 degree mitered joints for these. Each side is 15" long.
Then, you'll cut the backing 14" x 14". That's it!
Now time to assemble!
Only glue and nail the bottom and two sides at this point (otherwise, you wouldn't be able to put the glass in.). After the glue dries, slide the glass in place to make sure it fits.
Next, paint. It is easier to paint these babies before putting the glass in. We used primer and Benjamin Moore's China White. Tip: don't get paint in the dado (the groove for the glass). We learned this by experience. The glass fit snug before we painted and some of the paint got in. the groove making it too tight for the glass. To fix this issue, we just ran the boards though the table saw again to clean out the dado.
Once the paint dried, we put the glass in. We then glued and nailed the top piece of the frame in place. The frame is now complete!
You can really put anything in these shadow boxes, but if you're going to go for a look similar to ours you will need:
-Linen type of fabric
-Shells and rocks
-hot glue gun
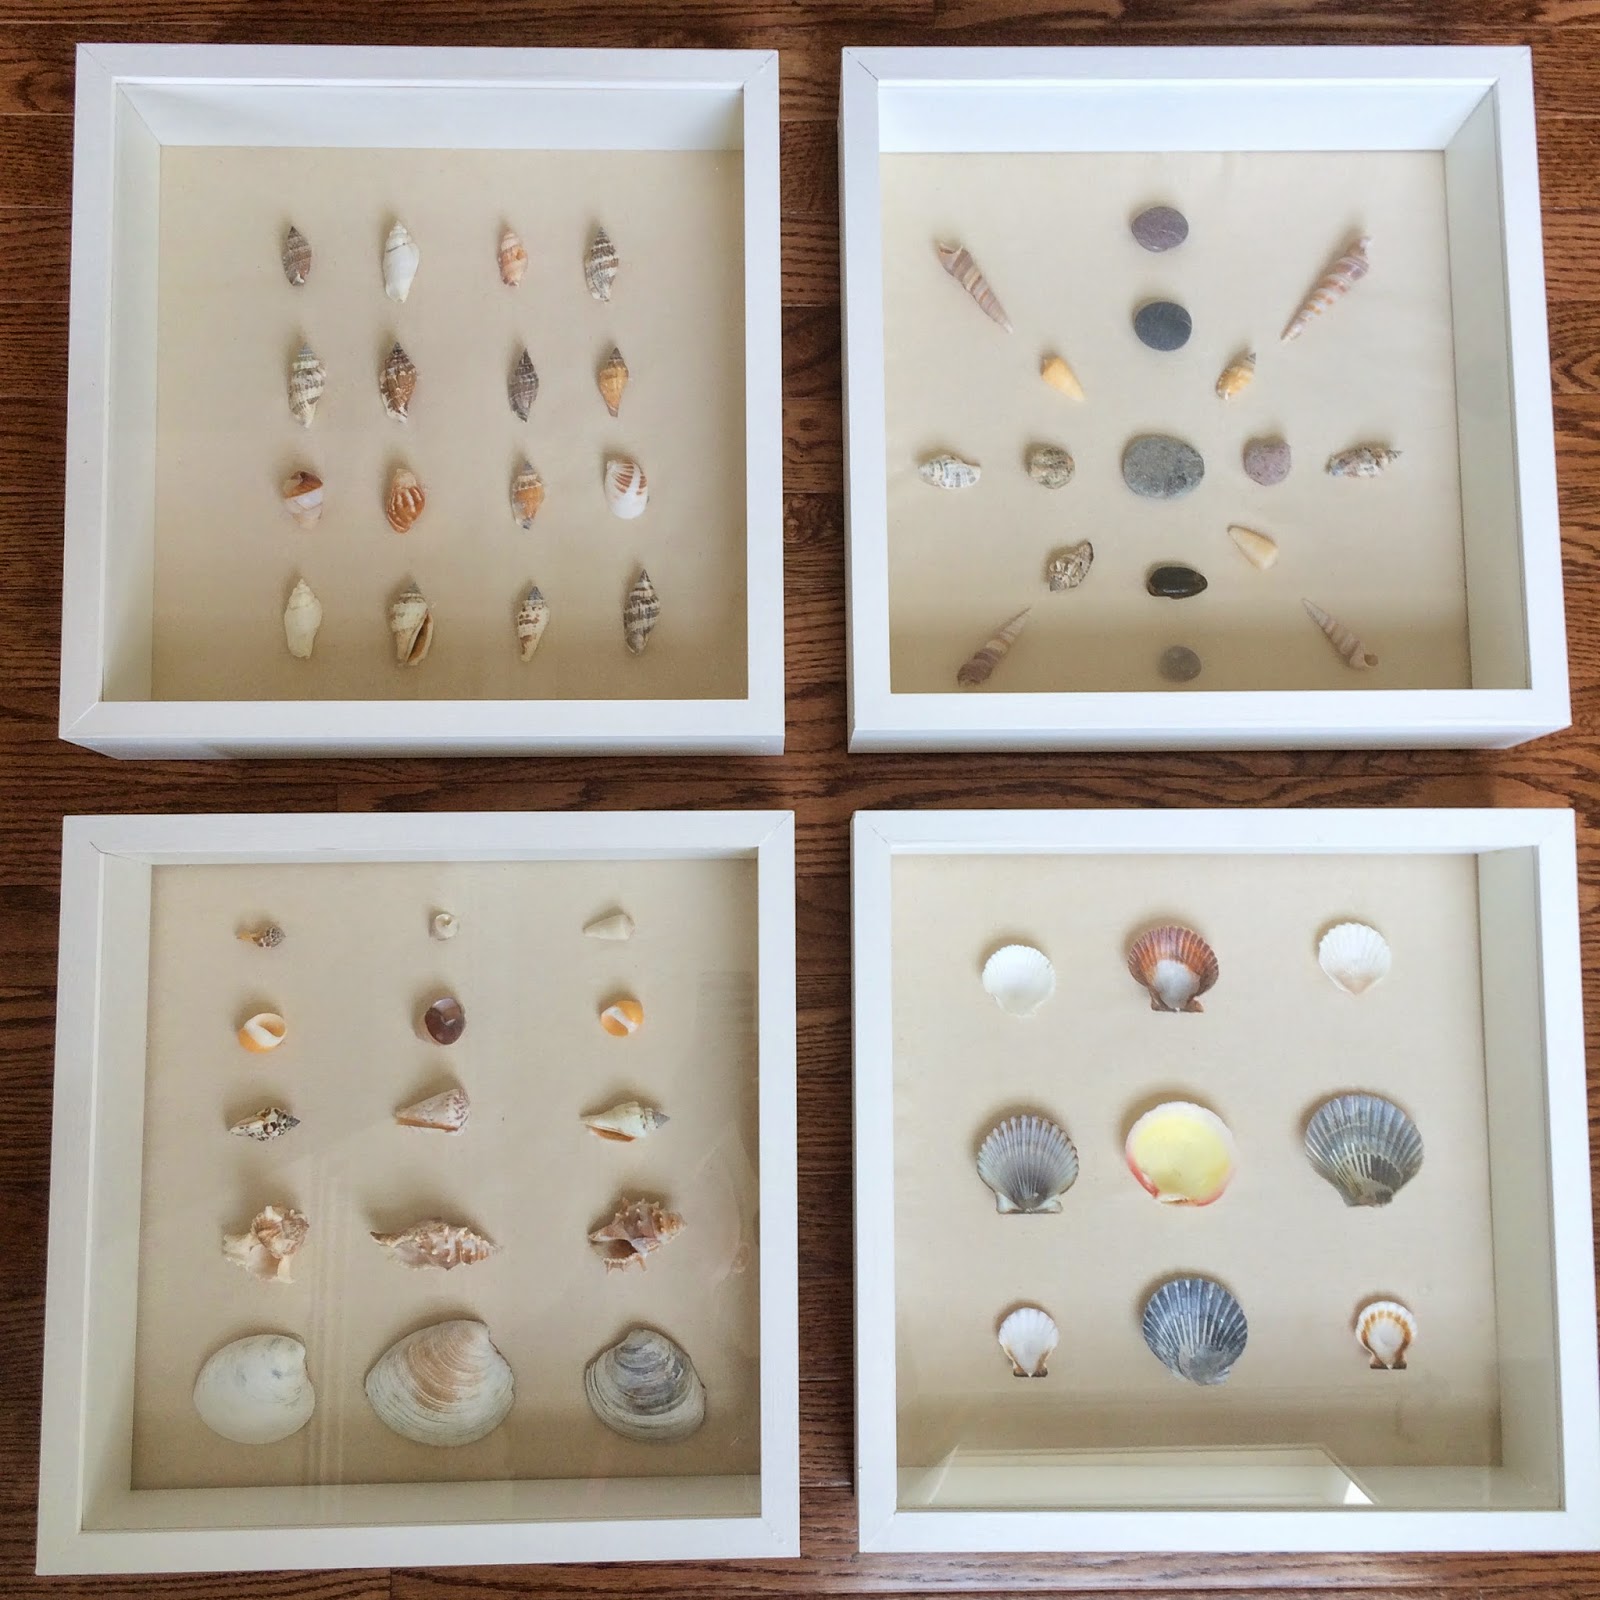
Arrange them anyway you like. I really like the star like design, and wish I made more of those. Once your art work or shells are glued down you can put the backing in place in the rabbets and screwed in place. We pre-drilled our countersunk holes in the backing for where the screws were going to go to avoid any splitting and so the screw heads would sit flush with the backing. There you have it. Affordable art work and a timeless look.


.jpg)